
What this part does
The thermostat is a temperature-controlled valve that helps the engine reach and maintain its intended operating range. When the engine is cold, it limits coolant flow to the radiator so warm-up is not delayed. As the engine heats, it opens according to the vehicle specification and lets coolant move through the radiator.
Because cooling-system layouts vary, one universal hose-temperature rule or opening temperature should not be used. Some vehicles use thermostat housings, bypass circuits, mapped thermostats, or sensor strategies that change what you feel at the hose. Confirm the expected behavior in the service manual before calling the thermostat bad.
Common failure signs

A thermostat stuck open usually shows up as a slow warm-up complaint. The temperature gauge may stay lower than normal, the heater may feel weak, fuel economy may drop, or an emissions monitor may not complete normally because the engine is not reaching the expected temperature range.
A thermostat stuck closed is more serious. The engine temperature may climb quickly, the warning light may appear, steam may be visible, or the vehicle may lose power as heat rises. Stop driving and seek help if the gauge enters the red zone, a warning light appears, steam is visible, coolant is leaking heavily, or the engine loses power.
- Stuck open pattern: slow warm-up, low operating temperature, weak cabin heat, possible P0128.
- Stuck closed pattern: rapid overheating, poor radiator heat transfer, warning light, possible coolant boil-over.
- Mixed pattern: fluctuating gauge, intermittent heat, or changing scan data may point to air pockets, low coolant, sensor faults, or flow restriction.
Before replacing it
P0128 commonly points to coolant temperature below the expected range, but it does not automatically prove thermostat failure. The thermostat should be tested along with coolant level, coolant temperature sensor data, wiring, warm-up behavior, and the relevant service information.
A low coolant level, trapped air, a sensor reading that does not match reality, poor fan command behavior, radiator restriction, or a water pump problem can imitate a thermostat fault. Replacing the thermostat first may fix nothing if the system cannot hold pressure, circulate coolant, or report temperature correctly.
- Check coolant level only when the system is cool and safe to open.
- Use the owner manual or service information to identify the correct coolant and inspection procedure.
- Compare dashboard behavior with scan-tool coolant temperature instead of trusting the gauge alone.
- Treat any overheating warning as a stop-driving condition until the cause is understood.
Inspection steps

- Begin with safety. If the engine is hot, overheating, steaming, or leaking heavily, shut it down and wait until the system is safe before inspecting anything.
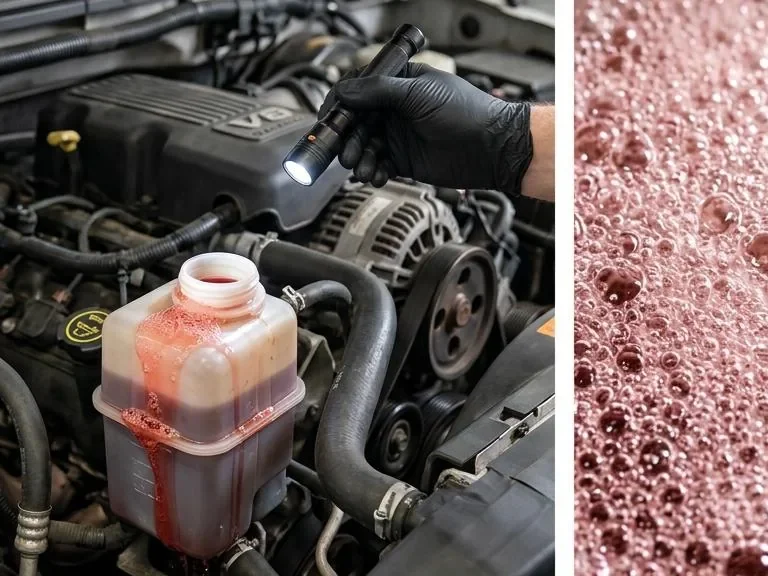
- Check coolant level only when safe. Low coolant can create poor heater output, erratic gauge movement, false temperature readings, and overheating that looks like a thermostat problem.
- From a cold start, watch the temperature gauge and heater output. Slow warm-up and weak heat support a stuck-open pattern; rapid temperature rise supports a stuck-closed or circulation problem.
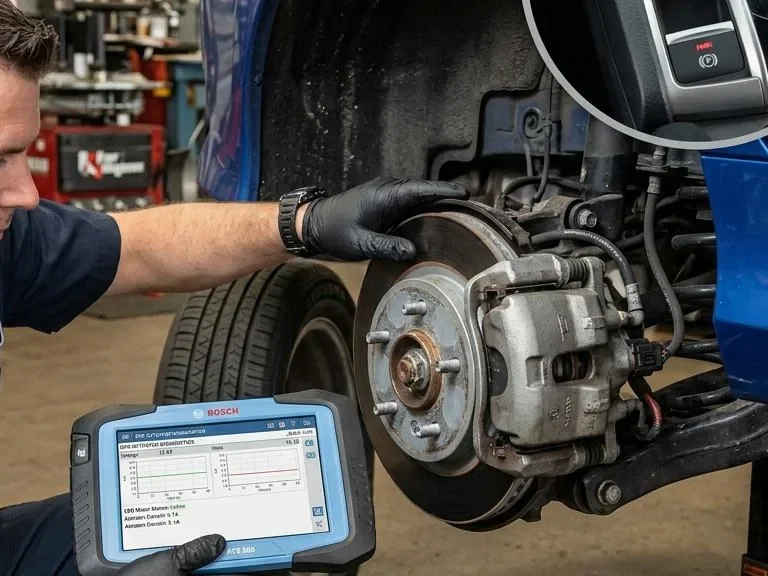
- Read engine coolant temperature with a scan tool. Compare the warm-up curve with the OEM thermostat specification and with the dashboard gauge behavior.
- Observe upper radiator hose temperature carefully without contacting moving belts or fans. On many designs, the hose warms more noticeably after thermostat opening, but this check is supportive rather than conclusive.
- Use an infrared thermometer only as a comparison tool. Surface readings can be affected by material, angle, airflow, and access, so match them against scan data and service information.
- If scan data, hose behavior, and symptoms disagree, inspect for trapped air, pressure loss, fan-command issues, sensor faults, water pump problems, and radiator restriction before removing the thermostat.
- Remove or bench-test the thermostat only by following the service manual. Removal methods, sealing surfaces, bleeding steps, and specifications are vehicle-specific.
Technician-level confirmation should include scan-tool ECT data, OEM opening temperature comparison, fan command behavior, trapped-air inspection, pressure testing, and the service manual removal or bench-test procedure when needed.

| Cause | Pattern that points toward it | What to verify |
|---|---|---|
| Thermostat stuck open | Slow warm-up, low temperature trend, weak heat | Scan-tool warm-up data against OEM specification |
| Thermostat stuck closed | Rapid overheating with poor radiator heat transfer | Cooling-system flow path and service-manual confirmation |
| Low coolant | Weak heat, fluctuating gauge, overheating, visible leaks | Coolant level when safe and pressure-test results |
| Air pocket | Erratic heat or temperature movement after service or leak | Bleeding procedure and trapped-air evidence |
| Coolant temperature sensor fault | Gauge, scan data, and actual heat behavior do not agree | Sensor data, connector condition, and wiring checks |
| Cooling fan issue | Overheating at low speed or idle conditions | Fan command, fan operation, relays, and airflow path |
| Water pump problem | Poor circulation, overheating, noise, leak evidence | Pump condition and coolant flow indicators |
| Radiator restriction | Heat rejection problem even when thermostat operation seems plausible | Radiator condition, flow, debris, and temperature distribution |
| Head gasket concern | Repeated coolant loss, pressure symptoms, overheating after repairs | Combustion-gas, pressure, and leak diagnostics |
A used thermostat is rarely the best choice because the moving element, seal condition, and heat history are hard to verify. If the thermostat is integrated into a used housing, inspect the housing for cracks, corrosion, damaged sealing surfaces, broken sensor ports, and mismatched part markings before considering it.
- Verify the existing part marking and vehicle fitment before buying any replacement.
- Avoid housings with cracked plastic, damaged threads, corrosion, or distorted sealing surfaces.
- Confirm whether the seal, gasket, sensor, or housing must be replaced as a set.
- Do not reuse questionable parts on an engine that has already overheated.
Replacement notes
Replacement makes sense when the symptom pattern, scan-tool data, hose-temperature behavior, and OEM service information all point toward the thermostat. Use the specified thermostat, seal or gasket, and coolant type. Do not mix parts by appearance alone, because opening behavior and housing design can vary by engine.
A correct repair should include confirming the cause, cleaning the sealing surfaces as directed, refilling with the specified coolant, bleeding air correctly, checking for leaks, and verifying stable operating temperature after repair. If the system overheated, also inspect for related damage or pressure loss.
- Buy a vehicle-specific thermostat only after diagnosis supports it.
- Replace the housing gasket or seal if the service procedure requires it.
- Use the coolant type specified for the vehicle.
- Verify fan operation, heater output, and stable scan-tool coolant temperature after service.
FAQ
How do I test if a thermostat is stuck open?
Look for slow warm-up, weak cabin heat, low scan-tool coolant temperature compared with the OEM expectation, and radiator hose behavior that suggests coolant is circulating too early. Confirm with service information before replacement.
How do I test if a thermostat is stuck closed?
Treat rapid overheating as urgent. Shut the engine down safely, let the system cool, then check coolant level, scan-tool temperature, radiator heat transfer, flow concerns, and the service-manual thermostat procedure.
Does P0128 mean I need a thermostat?
No. P0128 commonly points to coolant temperature below the expected range, but coolant level, sensor data, wiring, air pockets, and warm-up behavior should be checked before condemning the thermostat.
Can I test a thermostat without removing it?
Often, yes. A cold-start observation, scan-tool coolant temperature, heater performance, and careful hose-temperature checks can build a strong diagnostic direction. Removal or bench testing is the next step when the evidence remains unclear.
Should I replace coolant when replacing the thermostat?
Follow the service manual and coolant condition. If coolant is contaminated, incorrect, old, or lost during repair, use the specified coolant and bleed the system correctly after refill.


Comments
Be the first to add a practical repair note or follow-up question.