
What this part does
The Transit Mk6 auxiliary belt, also called a serpentine or drive belt, transfers crankshaft rotation to belt-driven accessories. Depending on the exact engine and equipment, that path can involve the alternator, power steering pump, air conditioning compressor where fitted, idler pulleys, and a spring-loaded tensioner. The belt does not stay on by luck; rib engagement, pulley alignment, tensioner control, and bearing condition keep it tracking in the correct line.
When the belt falls off, the visible belt is only the result. The more important question is what made it walk off, lose tension, climb a pulley, or get forced out of line. A failed idler bearing, weak tensioner, dragging accessory, damaged crank pulley, contamination, missing shield, wrong belt, or incorrect routing can all make a new belt fail quickly.
Common failure signs

Common failure signs after a Transit Mk6 auxiliary belt falls off are caused by accessories no longer being driven or by the fault that pushed the belt off in the first place. The highest-risk signs are a battery warning light, sudden heavy steering, abnormal squeal, smoke, burning rubber smell, visible belt debris, pulley wobble, or a loose pulley fixing.
- Battery warning light: the alternator may no longer be charging, so the van can stop once battery reserve is depleted.
- Loss of power steering assistance: steering effort can rise suddenly, especially at low speed or during parking.
- Brief or loud squeal before failure: the belt may have slipped, dragged over a seized pulley, or been pulled out of line.
- Burning rubber smell: the belt may have been rubbing, overheating, or running against a locked component.
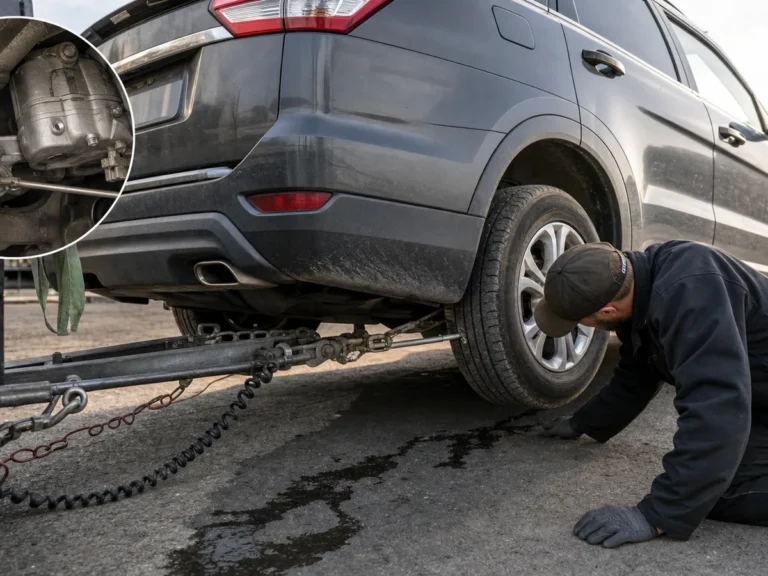
- Belt hanging loose or dragging: stop and secure it before it catches rotating parts or road debris.
- Visible wobble from any pulley: do not refit until the pulley, bearing, bracket, or crank pulley is inspected.
- Smoke or heat marks: treat this as a stop-driving condition until the belt path is checked.
- Overheating warning where applicable: confirm the exact engine layout before assuming the belt does or does not affect coolant circulation.
DTCs may appear after the event, but a thrown auxiliary belt is primarily a mechanical inspection problem. Warning lights can show the consequences; they do not prove the pulley, tensioner, or routing cause.
Before replacing it

Before replacing the belt, rank the cause from most inspection-led to least obvious. A worn belt can fail, but a belt that has walked off often points to a pulley, tensioner, accessory, routing, contamination, or alignment issue. Replacing only the belt wastes time if a seized idler, loose pulley, weak tensioner, or wrong routing is still present.
- Inspect belt condition for missing ribs, frayed edges, glazing, cracks, heat marks, uneven wear, or contamination.
- Check the tensioner pulley and spring arm for roughness, wobble, weak return, limited travel, or poor damping.
- Check every idler pulley for bearing roughness, free play, tilt, loose fixings, and signs the belt has been riding off center.
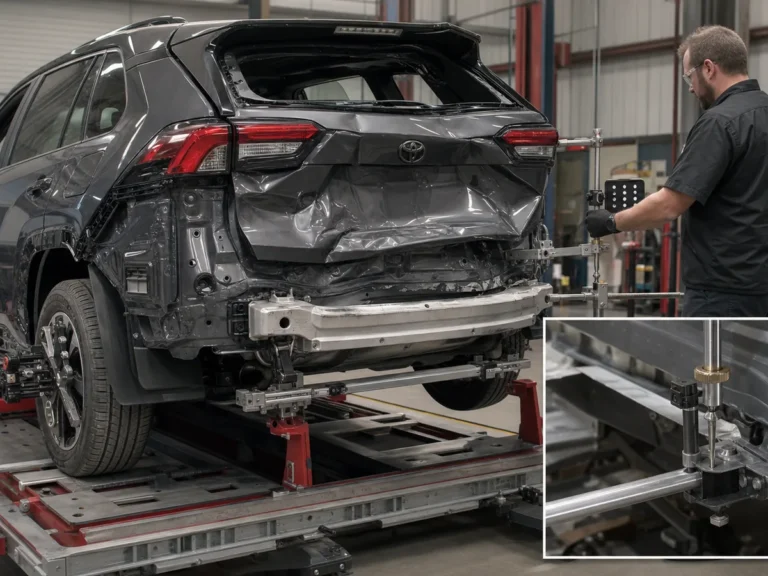
- Look along the belt line for pulley misalignment, bracket movement, or a pulley sitting out of plane with the others.
- Check driven accessories for drag, rough rotation, seized movement, noisy bearings, or pulley wobble.
- Inspect the crank pulley or vibration damper for visible wobble, separation signs, tracking marks, or damaged grooves.
- Look for oil, coolant, diesel, road debris, or missing shields that could let the belt slip or pick up debris.
- Confirm the belt length, rib count, and application match the exact engine and equipment, including air conditioning fitment where relevant.
- Verify the official routing instead of copying a guessed path or relying on a diagram from a different engine variant.
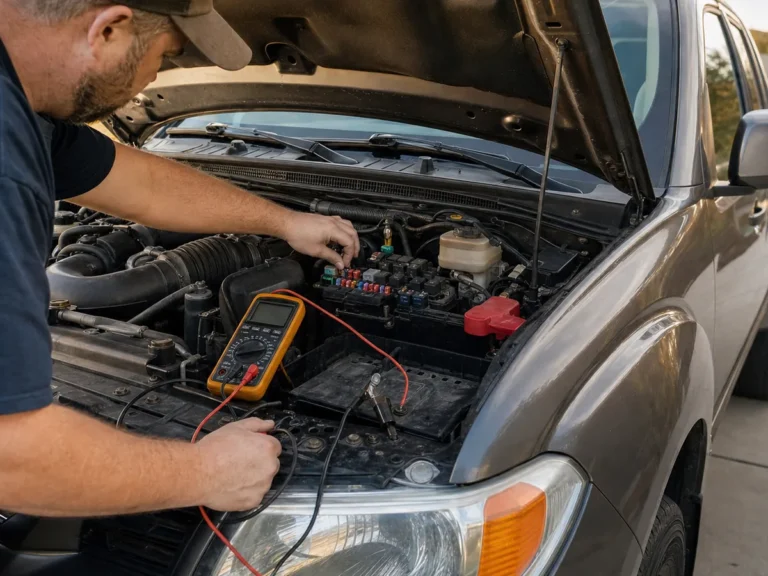
DTCs are not the main diagnostic path for a thrown Transit Mk6 auxiliary belt. A scan may show charging, battery voltage, steering assistance, air conditioning, or engine-management consequences after the belt stops driving accessories, but those codes do not identify the mechanical reason the belt fell off. The belt path still needs physical inspection.
- Battery warning light can appear when the alternator is no longer driven or charging properly.
- Steering assistance faults can follow belt loss where the power steering pump depends on the auxiliary drive.
- Air conditioning related faults may appear where the compressor is fitted and belt-driven.
- Engine-management warnings can be secondary if low electrical supply or accessory load affects system operation.
- Clear or interpret codes only after the mechanical fault is repaired and the charging or accessory systems are retested.
A scan tool can support diagnosis, but it cannot confirm belt routing, bearing roughness, tensioner damping, pulley alignment, crank pulley condition, or contamination. Those checks are physical.
Inspection steps
A Transit Mk6 auxiliary belt that fell off usually means a tensioner, idler pulley, driven accessory, crank pulley, contamination, alignment, belt condition, or routing fault has allowed the belt to leave its path. The belt should not be refitted until the cause is found, starting with belt damage, correct routing, pulley alignment, tensioner movement, idler pulleys, driven accessory bearings, crank pulley condition, and any oil or coolant contamination. The van should not be driven if charging is affected, steering assistance is missing, overheating risk is present, or any pulley is visibly damaged. You can refit the belt only if no underlying fault is found and the belt, pulleys, tensioner, routing, crank pulley, idlers, and driven accessories all pass inspection. A frayed, cracked, glazed, contaminated, heat-marked, or rib-damaged belt should be replaced rather than reused. Any pulley wobble, seized bearing, rough accessory bearing, burning smell, battery warning light, steering issue, or repeated belt loss means the fault needs repair before another belt is fitted.
First action: do not start or drive the van until the loose belt is secured, the belt path is visually inspected, and any obvious seized, loose, damaged, or misaligned pulley is ruled out.
- You may refit only if the belt is undamaged, the correct length and rib profile are confirmed, all pulleys rotate and align correctly, the tensioner moves smoothly, and the official routing is verified.
- Do not refit a frayed, glazed, cracked, contaminated, stretched, rib-damaged, or heat-marked belt.
- Do not continue driving if the battery light is on, steering assistance is lost, abnormal noises are present, smoke or burning smell appears, or a pulley is visibly damaged.
- If the belt came off more than once, the cause is unlikely to be solved by simply fitting another belt.
Inspection should begin with engine-off visual checks and only move deeper when the belt path is safe to touch. Rotating components are hazardous, so owner checks should be limited to the vehicle stopped, engine off, key removed, and components cooled. Technician checks can then confirm bearing feel, pulley alignment, tensioner action, accessory drag, and correct routing against engine-specific data.
Owner-safe checks
- Confirm the engine is off, the key is removed, and the belt cannot be pulled into rotating components.
- Look for a belt lying loose, dragging, wrapped around a pulley, or caught near wiring, hoses, or covers.
- Check warning lights noted during the failure, especially battery warning, steering assistance loss, or overheating warning where applicable.
- Inspect the belt for missing ribs, fraying, cracks, glazing, shiny heat marks, uneven edge wear, or contamination.
- Look for visible pulley wobble, a pulley sitting at an angle, missing guards, loose covers, broken brackets, belt dust, or fresh metal marks.
- Check for oil, coolant, diesel, or road debris on the belt path before assuming the belt itself failed.
Technician checks
- Check pulley alignment from the side of the belt path and investigate even small visible offsets.
- Spin accessible idlers and accessory pulleys by hand with the belt removed, listening and feeling for roughness or grinding.
- Check each pulley for side play, tilt, loose fixing, missing flange where fitted, damaged grooves, or tracking marks.
- Move the tensioner through its usable travel using the correct method and confirm smooth movement, spring control, and damping.
- Check accessory drag from the alternator, power steering pump, air conditioning compressor where fitted, and any other belt-driven unit.
- Inspect crank pulley condition, vibration damper integrity, groove condition, and visible runout without inventing engine-specific limits.
- Confirm bracket security and that no previous repair has left a pulley or accessory out of line.
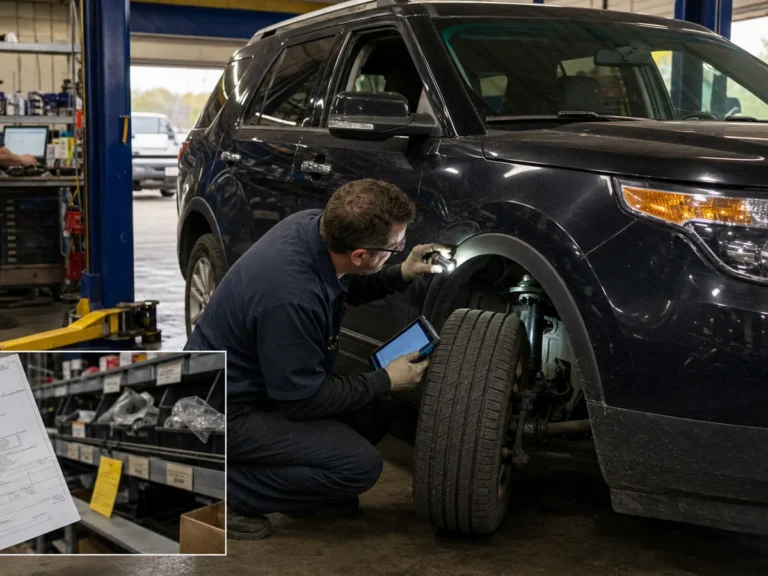
- Confirm belt part number, belt profile, equipment match, and official routing for the exact engine variant.
- Make the vehicle safe and do not run the engine with the belt loose.
- Record the symptoms that happened before the belt came off: squeal, smell, warning light, steering loss, or sudden noise.
- Remove or secure the failed belt only when it is safe to do so.
- Inspect the belt for damage that would prevent reuse.
- Inspect idlers, tensioner, driven accessories, crank pulley, brackets, guards, and contamination.
- Verify the replacement belt against engine-specific repair data, not just apparent length.
- Install only after the cause has been corrected or reasonably ruled out.
- After refitting, run the engine only under safe conditions and watch belt tracking, noise, warning lights, and charging or steering symptoms.
- Recheck after the test run for fresh belt dust, edge wear, smell, or pulley movement.
Used parts should be approached carefully on an auxiliary belt drive because the common failures are wear, bearing roughness, spring weakness, pulley wobble, and alignment damage. A used belt should not be fitted. Used brackets or pulleys should only be considered when the part can be matched to the exact engine and inspected for bearing feel, straightness, mounting damage, and pulley condition.
- Do not buy or reuse a used auxiliary belt; fit a correct new belt once the cause is fixed.
- Avoid used tensioners unless the spring action, pulley bearing, arm movement, and mounting points can be verified.
- Reject any idler pulley with roughness, play, rust staining from the bearing, edge damage, or signs it has run hot.
- Match brackets, pulleys, and accessories to the exact engine and equipment, including air conditioning fitment where relevant.
- Check for damaged grooves, bent pulley faces, loose pressed parts, worn mounting holes, or evidence of misalignment.
- Prefer quality new service parts for belts, tensioners, and idlers when the failure has already stranded the vehicle.
Book repair instead of attempting a roadside or driveway refit if the cause is not clear within basic engine-off checks. A thrown auxiliary belt can be a repeat failure if an idler bearing, tensioner, accessory pulley, crank pulley, bracket, contamination source, or wrong belt is left in place. Professional inspection is the smarter step when drivability or charging has already been affected.
- The belt came off more than once or followed a previous belt or tensioner repair.
- The battery warning light, steering assistance loss, smoke, burning smell, or abnormal noise occurred.
- Any pulley shows wobble, roughness, tilt, loose fixing, or signs of heat damage.
- The belt path is contaminated by oil, coolant, diesel, or road debris.
- The correct belt length, rib count, or routing is uncertain.
- The van has air conditioning or other equipment differences that change the belt path.
- A technician needs to verify charging-system and accessory-drive operation after repair.
A useful repair request is specific: ask the technician to confirm the correct belt route and inspect the tensioner, idlers, pulley alignment, crank pulley, driven accessories, contamination, and post-repair belt tracking.
Replacement notes

Replacement should be treated as a repair step, not the diagnosis itself. A Transit Mk6 auxiliary belt can be replaced once the belt route is correct, the tensioner controls the belt, idlers and accessories rotate properly, the crank pulley tracks true, and contamination has been removed. Any pulley, bearing, bracket, or accessory fault should be repaired before the new belt is installed.
- Use engine-specific repair information for routing, tensioner release method, and any special precautions.
- Do not publish or follow one universal Transit Mk6 routing diagram unless the exact engine, accessory layout, and market match.
- Replace the belt if it is frayed, cracked, glazed, contaminated, missing ribs, edge-worn, heat-marked, or damaged from being thrown.
- Replace the tensioner or idler only when inspection confirms roughness, play, wobble, weak action, seized movement, or tracking problems.
- Replace or repair a driven accessory if its pulley drags, locks, wobbles, or makes bearing noise.
- Clean the belt path if oil, coolant, diesel, or road debris has contacted the belt or pulleys.
- Check the post-repair run for belt tracking, abnormal noise, warning lights, smell, and fresh belt dust.
Do not include torque settings, belt lengths, pulley counts, special tools, or exact routing in the published article unless they are verified against official repair data for the exact Transit Mk6 engine variant.
FAQ
Can I just put the Transit Mk6 auxiliary belt back on?
Only if the belt is undamaged, the routing is confirmed, and the tensioner, idlers, accessories, crank pulley, alignment, and belt path all pass inspection. If the cause is not found, the belt may come off again.
What usually causes a Transit Mk6 auxiliary belt to fall off?
Common causes include a damaged belt, weak tensioner, failed idler pulley, pulley misalignment, seized accessory, crank pulley fault, contamination, incorrect belt length, or incorrect routing.
Is it safe to drive after the auxiliary belt falls off?
Do not continue driving if the battery warning light is on, steering assistance is lost, abnormal noise is present, smoke or burning smell appears, or a pulley is visibly damaged. Safety depends on the exact systems affected.
Will a diagnostic trouble code tell me why the belt came off?
Usually not. DTCs may show charging or accessory-related consequences, but the cause of a thrown belt is normally found by mechanical inspection.
Should I reuse the old belt if it looks intact?
Reuse is not recommended if there is fraying, glazing, cracking, missing ribs, contamination, heat marks, stretching, or uneven edge wear. If the belt came off, inspect it very critically before considering reuse.
What should a technician check before handing the van back?
The technician should confirm belt specification, official routing, tensioner travel and damping, idler bearing condition, accessory drag, pulley alignment, crank pulley condition, bracket security, contamination removal, warning lights, and belt tracking after a test run.
Comments
Be the first to add a practical repair note or follow-up question.